3.10.2011

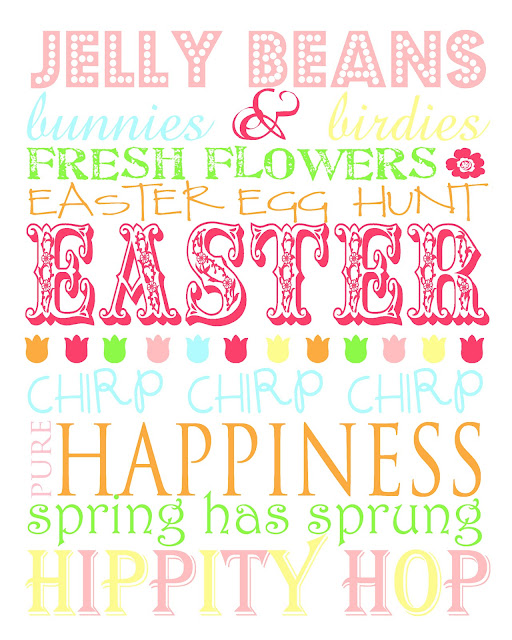
Freebie Friday ~ Easter subway art

So, I'm jumping on the subway art bandwagon. I love some of them, and they make beautiful art for the holidays that easy to do, and oh so cute!!!

I haven't even had a chance to print it out and put it up, but I'm excited to use it with my new cupcake stands, they'll go together perfectly! I think I may see an easter party in the future!

So here's a little freebie for everyone to enjoy! Just click on the picture to take you to the download.

3.09.2011

DIY cupcake stands

Sometimes, I think I may be a little over-the-top. We have an activity coming up at church, a birthday party, and I wanted it to be FUN! So, I decided that I should make some super cute cupcake stands. Like I know how to do that! But I decided to give it a go anyway.


For christmas my awesome parents got me a super cool bladerunner. It's a saw, and I was so excited! I hadn't pulled it out yet, and decided that this was as good a chance as any to figure out how to use it.


Turns out, circles are a little hard to cut out. I am nowhere near perfect, but they're in the general circle shape, so that should be good enough, right? Hey, I'm a novice, ya get what ya pay for!:)


After the circles are cut out, and you've made a trip to Lowes for the other wood pieces, (which were not cheap by the way, and considering I made two cupcake stands, it added up!), get to work spray painting. You'll also need to pick up some wood dollhouse shingles at hobby lobby and divide them up into however many colors you want.


Once everything's dry, get to work with the glue gun. I probably could have used something even more permanant, but I figured this way it would be easy to take apart if I want to change the colors later.


I did use gorilla glue for the middle pieces and the feet though, you want those to be nice and sturdy.


I was a little worried it would be too much color, and a little too festive, but I kinda love how they look!


I can't wait to see them all covered in cupcakes!

Bingory!

Ever heard of "BINGORY"? It's kind of a mix between bingo, and memory, and it's kinda fun for the kiddos. I had made some valentines bingory boards a few days ago, and thanks to the awesome weather we're having right now, we had lots of time to play.


I was going to print out the cards and the matching game pieces with a cute paper backing, and it would probably be good to laminate it too. But, we didn't have time to do that, the girls were getting fiesty, and mean, and driving me crazy! So, excuse the unfinished games!:)


Even Lexie got the hang of it, and had fun. She even won the first game!


Everything is more fun when there's candy involved too.


Please excuse the fact that we were all in our pajamas. We didn't leave the house today at all...you know, serious weather conditions. There was supposed to be snow, but all we got was ice...super fun for kids expecting to wake up to snow.


It's pretty simple to play. You cut out enough pieces to that you have one match for every piece on very kids game board. Does that make sense? If you have 4 kids playing, you'll need matching pieces for every one of their games. Then when they pick a card, they put a candy on the matching picture on their board. 
Simple as that, the first one to get four in a row wins!

 I only made 4 different boards, but the great thing about this game is that everyone could have the same board if you wanted them too. Because it all depends on what card they pick, it doesn't matter if their boards all match!

If you want to play bingory, go here for the free download!

6.09.2010

Every girls dream ~ a PLAYHOUSE!

So this past weekend, my mom and dad flew out here for the busiest weekend ever! There was a baby shower, a baby blessing, a swim meet, and a massive construction project that my poor dad didn't get hardly any break from the whole time!
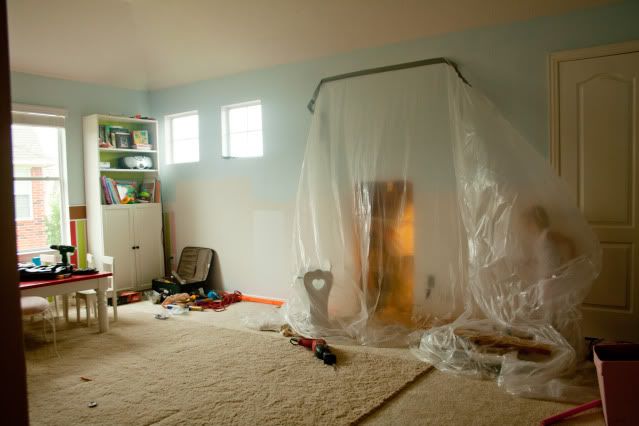
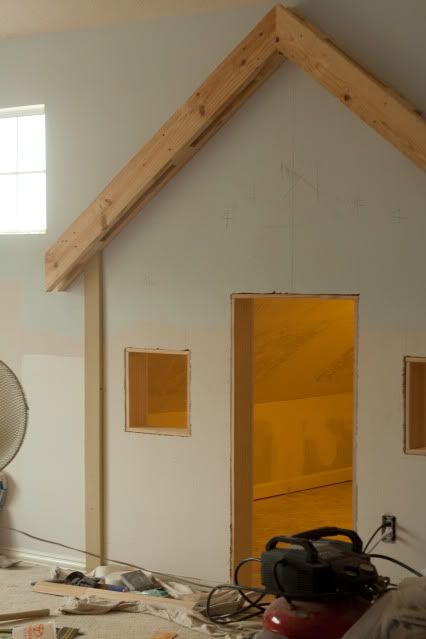
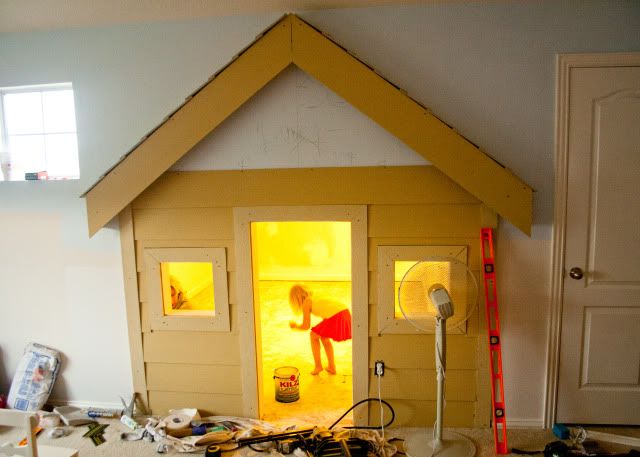
It all started with a wall in the playroom. When the house was being built, my mom saw that the wall in the playroom opened up to the attic area above the garage, so it really was all her idea.:) We opened up the wall, and my dad went to work framing out the attic, laying the plywood floor, rewiring so there would be a light in there, and sheetrocking the room. I was amazed at just how fast he was able to get things done. Kevin and I would still be trying to figure out how to frame the room out if it were up to us!


Once the inside was ready for paint, he got to work on the outside while my mom started priming the inside. It was too confined for me to paint in there, so I was the babysitter while they all worked their tails off.


It's starting to come along, at least now you can see the outline of the house!
1
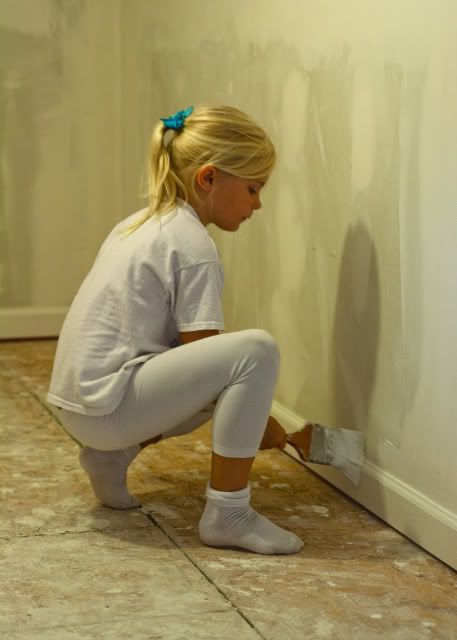
Halli was so excited to get to help paint, my mom may not have been so excited for the help/extra work, but Halli sure did love it.


oohhh, I love seeing it all come together!


I know you're all dying to see the final product....
1
1
ooh, what color will it be?
1
1
How awesome could this possibly look?
1
1
I know, I'm way too excited about a playhouse for my kids....
1
1
So,
1
1
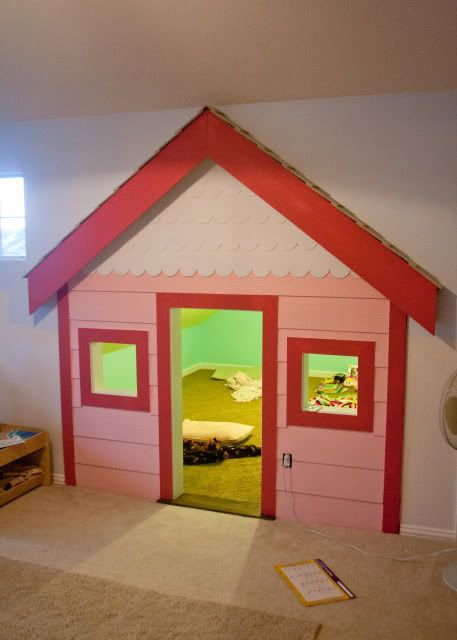
Here it is!!!!

I am so in love with how it all turned out! We painted it after the girls were in bed, and the first thing Halli said to me the next morning when she saw it was that she was "shocked!"


But seriously, who wouldn't be?:)


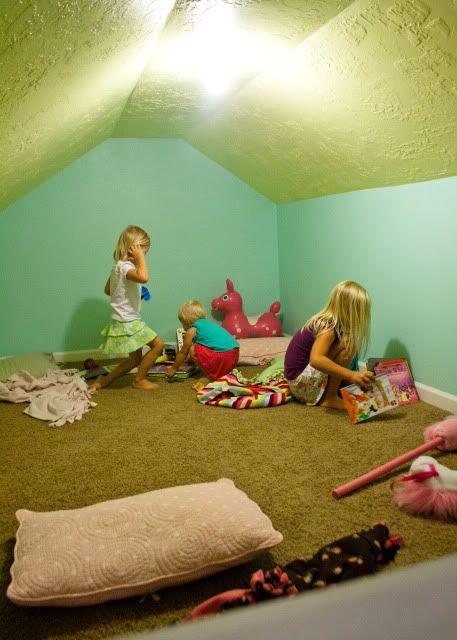
The inside is alot bigger than I thought it would be too, it's an awfully big playhouse for these little girls!


They've barely come downstairs for the past two days, and they are thoroughly enjoying playing in their new house. Not only that, but Halli is SO excited to have a sleepover soon so they can all sleep in there!
Thanks so much mom and dad for everything! I know it was a ton of work, but there is no way on earth we could have ever done anything even close to this without you. You two are amazing, and I absolutely love my.....I mean my girls...new playhouse!:)

5.05.2010

Lil' cupcake

Last month my sister-in-law had a fourth birthday party for her twin girls, and it was a cupcake theme. She asked me to make some party circle/tags for her, and I did. I ended up loving the colors so much, that I've made a scrapbook kit to go along with it all!


3.16.2010

Scatter Sunshine

It has been a very cold winter this year, and I have NOT loved it. I am excited for the warmer weather, for being outside, and flowers and sunshine! So, to help ring in spring, and the joy the comes with it, here is my newest digital kit, Scatter Sunshine! Enjoy!

3.08.2010

Free St Patricks Day party circles

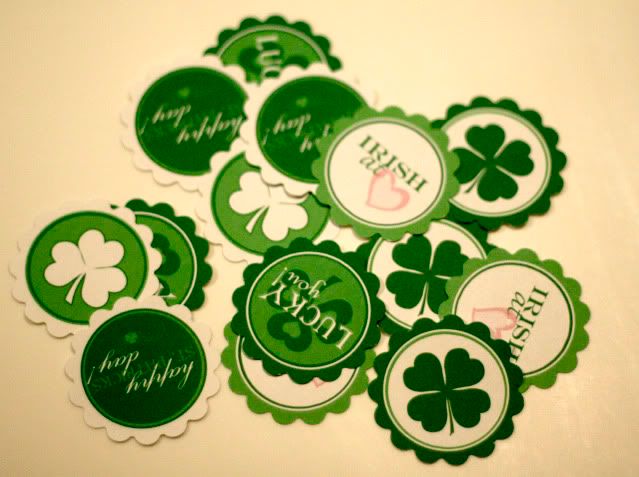
With St. Patricks day coming up, I've made some printable party circles to download. All you need is heavy white paper to print them onto, and a 2" scallop or 2" circle punch. it's also a PDF file, so you will need adobe acrobat to view the download.


These can be used for many things:


Cupcake toppers
Napkin rings
Placemats
invitations
party hats
favor tags


Or whatever else you can think up.


If you do use them for anything fun or creative, feel free to leave me a link or a photo, I'd love to see what you do with them!


Also, when you print them, DO NOT scale to page, print them as-is or the circles will be too small for the punches.


Enjoy!

LinkWithin